This is a little tutorial about starting a small cross stitch project. Not bigger than about 10" x 13". I like to stitch "in hand" no hoop or frame as I find it easier, but with larger projects that is not necessarily the case.
First I cut down my aida fabric allowing at least 2-3" of extra fabric all around the design size for framing (or counting/centering mistakes) always good to have a safety net.

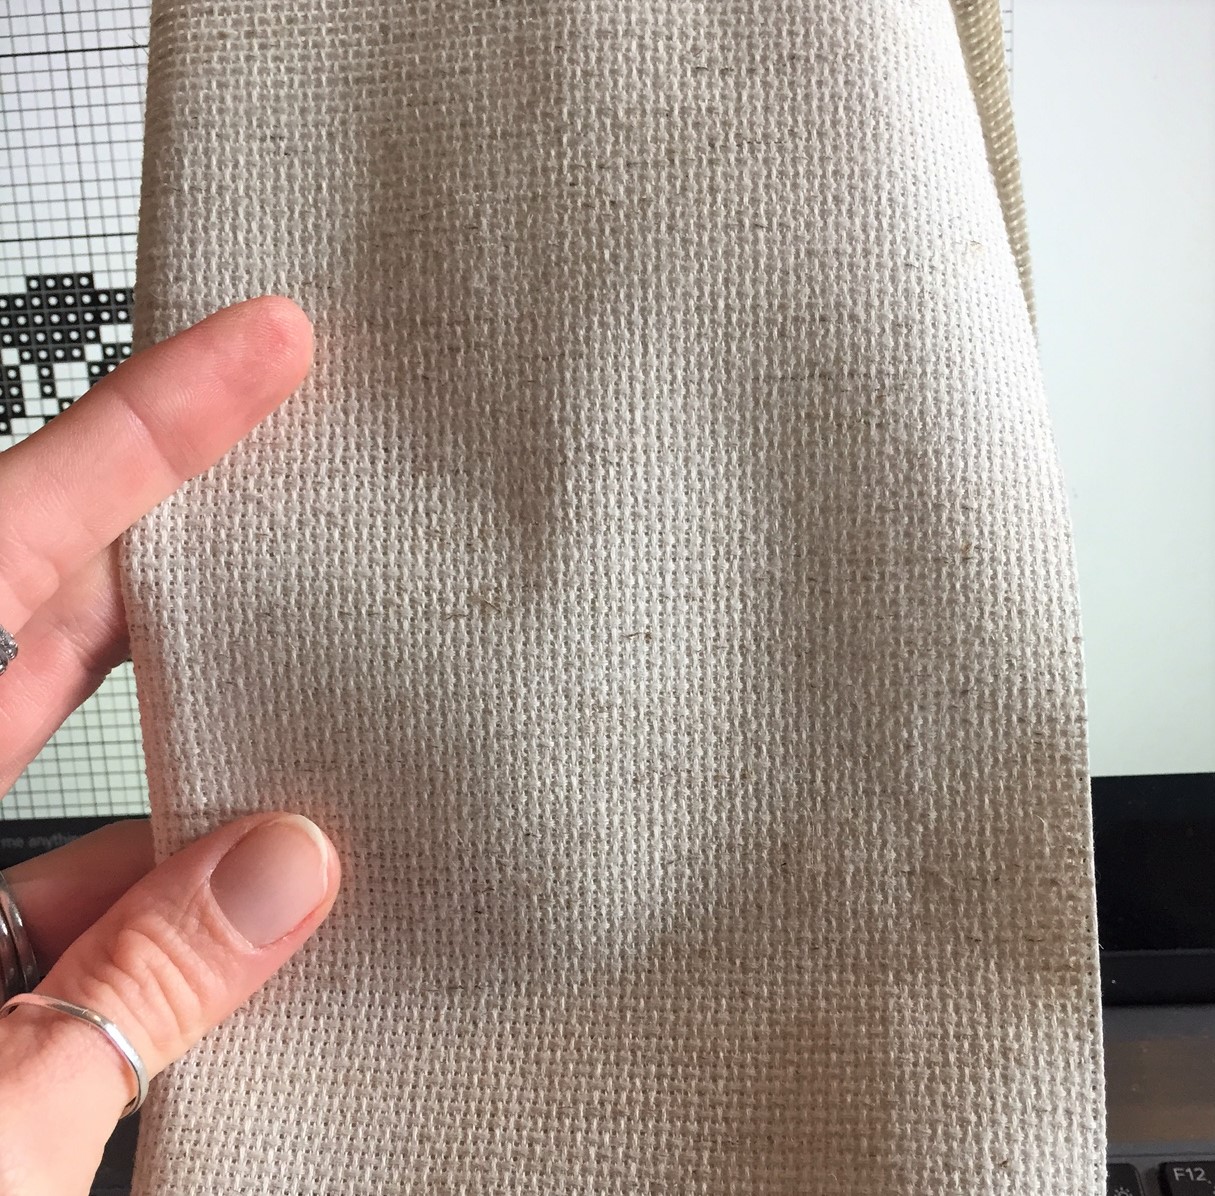
Here I cut my fabric to 10" square for a pattern that was about 5" square.
After I have cut my fabric, I need to find the center of the fabric. I find the easiest, quickest way to find the center is to fold. First, I fold the fabric vertically and then again horizontally.

 Now, when I unfold it, I can see where the folds meet in the center of the fabric and that will be where I start my stitching. Usually on the gridded pattern there will be arrows at the top center and the left side center and you can draw lines down and over and where they meet will be the center stitch of the pattern.
I personally like to stitch with 3 strands of DMC Embroidery Floss when I am stitching on 14 count aida. Standard patterns usually call for 2 strands. I would recommend trying a couple of stitches with both on a scrap piece of aida and decide your preference prior to starting your actual project.


Here I have started separating strands into two sets of 3. I do take the time to separate each of the 6 strands and then put them back together, I just separate into 2 sets of 3. I do however, let the strands dangle and unwind a bit before threading my needle and as I stitch I let my need dangle every once and while to let it unwind to keep the stitches nice.
I have threaded my needle and now I am ready to place the first stitch. I come up from the bottom right hole of the center square (pinched spot from above) and I gently hold a small portion of the thread behind the fabric so I can stitch over it to keep it in place. Then I bring my needle down through the top left hole of the center square. That is my first half stitch. To finish it as a whole cross stitch I would then bring my needle up through the bottom left hole of the center square and then back down through the top right hole. That would be a whole cross stitch.

 But, as I am doing a larger block of the same color I am going to place a number of 1/2 stitches prior to going back and finishing the full cross on each one. So my next stitch is to come up at the bottom right of the hole next to my center stitch and then back down through the top left of the 2nd hole.
I am on my way with my project. Stay tuned for finished version.

No comments:
Post a Comment